Fake It or Make It: French Onion Dip

Monday, September 5, 2011 0 comments

Elizabeth Gunnison

Elizabeth Gunnison

In our column Fake It or Make It we test a homemade dish against its prepackaged counterpart to find out what's really worth cooking from scratch.

By Elizabeth Gunnison, Bon Appétit

I can't really explain why I eat the foods that I do while watching sports on TV. Normally I'm devoted to fresh ingredients--even organic ingreidnets--but some sort of voodoo takes hold when televised athletics enter the equation. Nachos? Bring it. Ruffles? Yes, please. And definitely, definitely pass the French onion dip.

I'm not repentant or anything. "Everything in moderation," as the old saying goes. And when it comes to this nation's iconic foods, French onion dip is right up there with the iceberg wedge salad and Klondike Bars. It's an American classic. I typically get my French onion fix from a jar, so I couldn't help but wonder: Is it worth going the extra mile to make it from scratch?

The Contenders

Alton Brown's Onion Dip
 vs. Lay's French Onion Dip

Ironically, French onion dip is about as American as apple pie. Also known as "California Dip," the sour cream and onion party snack is the brainchild of an anonymous west coaster who in 1954 mixed then-new Lipton's Onion Soup Mix with sour cream. The dip spread like wildfire. These days, it garnishes potato chips or crudites, and is mostly bought premade, manufactured by the likes of Lay's, Kraft, and Wise.

Related: The Best New Restaurants in America 2011

Relative Costs
Almost identical. The Lay's version goes for $3.50 for 1.5 cups on peapod.com, which works out to about $2.30 per cup. I spent about $5.50 in on ingredients to make 2.5 cups of dip, or $2.20 per cup.

Relative Healthfulness
Homemade wins this one, hands down. Alton's recipe calls for just sour cream, onions, and mayonnaise with a few seasonings. Lay's French Onion Dip is filled with a laundry list of unpronounceable thickeners, preservatives, and other additives.

Time Commitment

Minimal. The dip took a total of 25 minutes to make, between chopping the onions, sauteing them, and mixing the ingredients into the final product.

Leftovers Potential
Frito-Lay says that once opened, its French Onion Dip is good in the fridge for 10-14 days. The homemade version can be refrigerated and used for 4-7 days.

What The Testers Said
First let me introduce our panel.

THE HEALTH NUT
A delicate eater, the health nut is calorie conscious but also likes to eat well

THE FOODIE
Calorie agnostic, our foodie judge has a sophisticated palate and a love of cooking

See Also: How to Build the Perfect BLT Sandwich

THE DUDE
Ambivalent toward food trends and health concerns, this guy just wants to be fed when he's hungry

THE KID
Between ages of 9 and 12 years old, not jaded, typically not into strong flavors

The testers sampled both dips blind, on their own and then with potato chips. Testers agreed that Dip A (which, unbeknownst to them, was Lay's) was cheesier compared to the tangier Dip B (homemade), but they were largely stumped by which was store bought.

The Health Nut: Homemade; "I could eat a lot more of this. It's more refreshing."
The Foodie: Store-bought; "This one is cheesier and fuller flavored, whereas the other one has more of a sweet, ranchy tang."
The Kid: Neutral. "They taste the same."
The Dude: Store-bought. "It tastes more gourmet, or complex. There's more going on."

The Verdict

Fake it. Okay, so homemade is the healthier option by a wide margin, but that artificial quality that characterizes the Lay's version is kind of a hallmark of French onion dip, and it's what most people love about the stuff. Pour it from the jar into a nice bowl, and people may not even realize that you bought it. And if they do, and they care, maybe they shouldn't be watching sports on TV.

3 Ways to Make the Perfect Popcorn

0 comments

Photo: Nigel Cox

Photo: Nigel Cox

Stovetop

Put ½ cup popcorn kernels and 2 Tbsp. canola, vegetable, or coconut oil into a large, deep pot. Cover tightly and cook over medium-high heat until kernels just begin to pop, 3 to 4 minutes. Give pot a firm up-and-down shake every 30 seconds or so. When popping has almost subsided, remove pot from heat and transfer popcorn to a bowl. Makes about 10 cups.

RELATED: Sign Up for Oprah's Lifeclass!

Microwave
Place ¼ cup popcorn kernels and ½ Tbsp. oil (optional) in a paper lunch bag. Fold over top edge to secure; microwave on high for about 2 minutes, or until kernels have mostly stopped popping. Makes about 5 cups; do 2 bags' worth for the recipes here.

RELATED: 4 Playful Popcorn Recipes

Popcorn Popper
Some poppers require oil, others use only hot air. Follow the manufacturer's instructions; for the recipes here, pop ½ cup popcorn kernels total. You may have to work in batches.

5 cocktails you must try before summer ends

0 comments


You're having a big blowout this weekend, right? Or at least a casual get-together to celebrate the end of summer in as many delicious ways possible. Even if you're not the one throwing the party, you don't want this summer to get away from you before trying the most amazing cocktails of all (summer) time. Just like the white clothes, after Labor Day, it may be time to put away these refreshing drinks in favor of the warm-ups that fall and winter require.

More from The Stir: 3 Veggie Burgers That Will Have Meat-Lovers Fooled

So hit your liquor store, and bring home enough ingredients for these five summer cocktails before it's too late!

1. Raspberry Bourbon Lemonade

My personal favorite, I put this together after having something similar in a Brooklyn restaurant. It will most definitely be on the menu this weekend.

Ingredients:

6 raspberries
1.5 ounces bourbon (equivalent to a shot glass)
6 ounces lemonade (regular or raspberry flavored)

1. Muddle raspberries and place at the bottom of the highball glass

2. Pour bourbon and lemonade, give a quick stir, and throw in one big ice cube.

2. Michelada

Normally people don't mix beer and turn it into a cocktail, but the 'Chelada is a super fun, and delicious, way to dress up your brewski.

Ingredients:

Lime wedge
Margarita salt
One ice cold beer
2 ounces fresh lime juice

1. Wet rim of pint glass with lime wedge. Put rim of glass on plate of margarita salt.

2. Pour in beer, add lime juice, and stir lightly.

More from The Stir: Best Low-Calorie BBQ Sauce Revealed!

3. Blue Hawaiian

Break out the blender. You're not letting summer go by without trying a frozen, blue drink, are you? I thought not.

Ingredients:

1.5 ounces rum
1.5 ounces creme de coconut
1.5 ounces blue curaco
3 ounces pineapple juice
1 cup ice
Maraschino cherry for garnish
Pineapple wedge for garnish

1. Add liquid ingredients and ice into blender. Turn that sucker on.

2. Garnish. Enjoy.

4. Strawberry Lemon Mojitos

From Food and Wine, they improved upon the already amazing mojito by adding strawberries. I'm trying this one out this weekend, and stocking up on strawberries, mint leaves, lemons, rum, and agave nectar. YUM.

5. Vodka Raspberry Fizz

You see the raspberry theme, yes? Another one I put together when I wanted to summer-up my traditional gimlet.

Ingredients:

1.5 ounces raspberry flavored vodka
1.5 ounces Rose's lime juice
3 ounces seltzer

Make sure everything has been chilled well, mix together, and serve.

What are you serving this weekend?


Vegan & Vegetarian Recipes for Labor Day Weekend

0 comments

Written by Four Green Steps.com

vegan and vegetarian labour day weekend recipes mexican taco salad healthy delicious
Soak up the last long weekend of summer with some of our favorite vegan and vegetarian recipes! Hungry for more? Bookmark our always-growing recipe section.


Vegetable Quiche To Go

vegetablequiche


Peanut Butter Pancakes

http://thishomemadelife.com/wp-content/uploads/2011/02/pb3.jpg


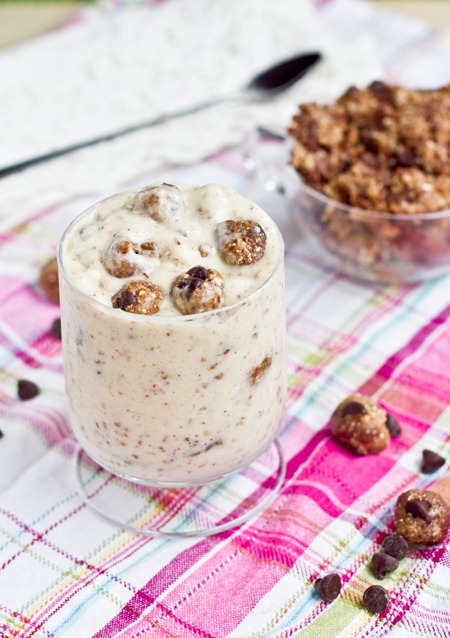
Chocolate Chip Cookie Dough 'Blizzard'

http://ohsheglows.com/wp-content/uploads/2011/03/IMG_2956-2.jpg


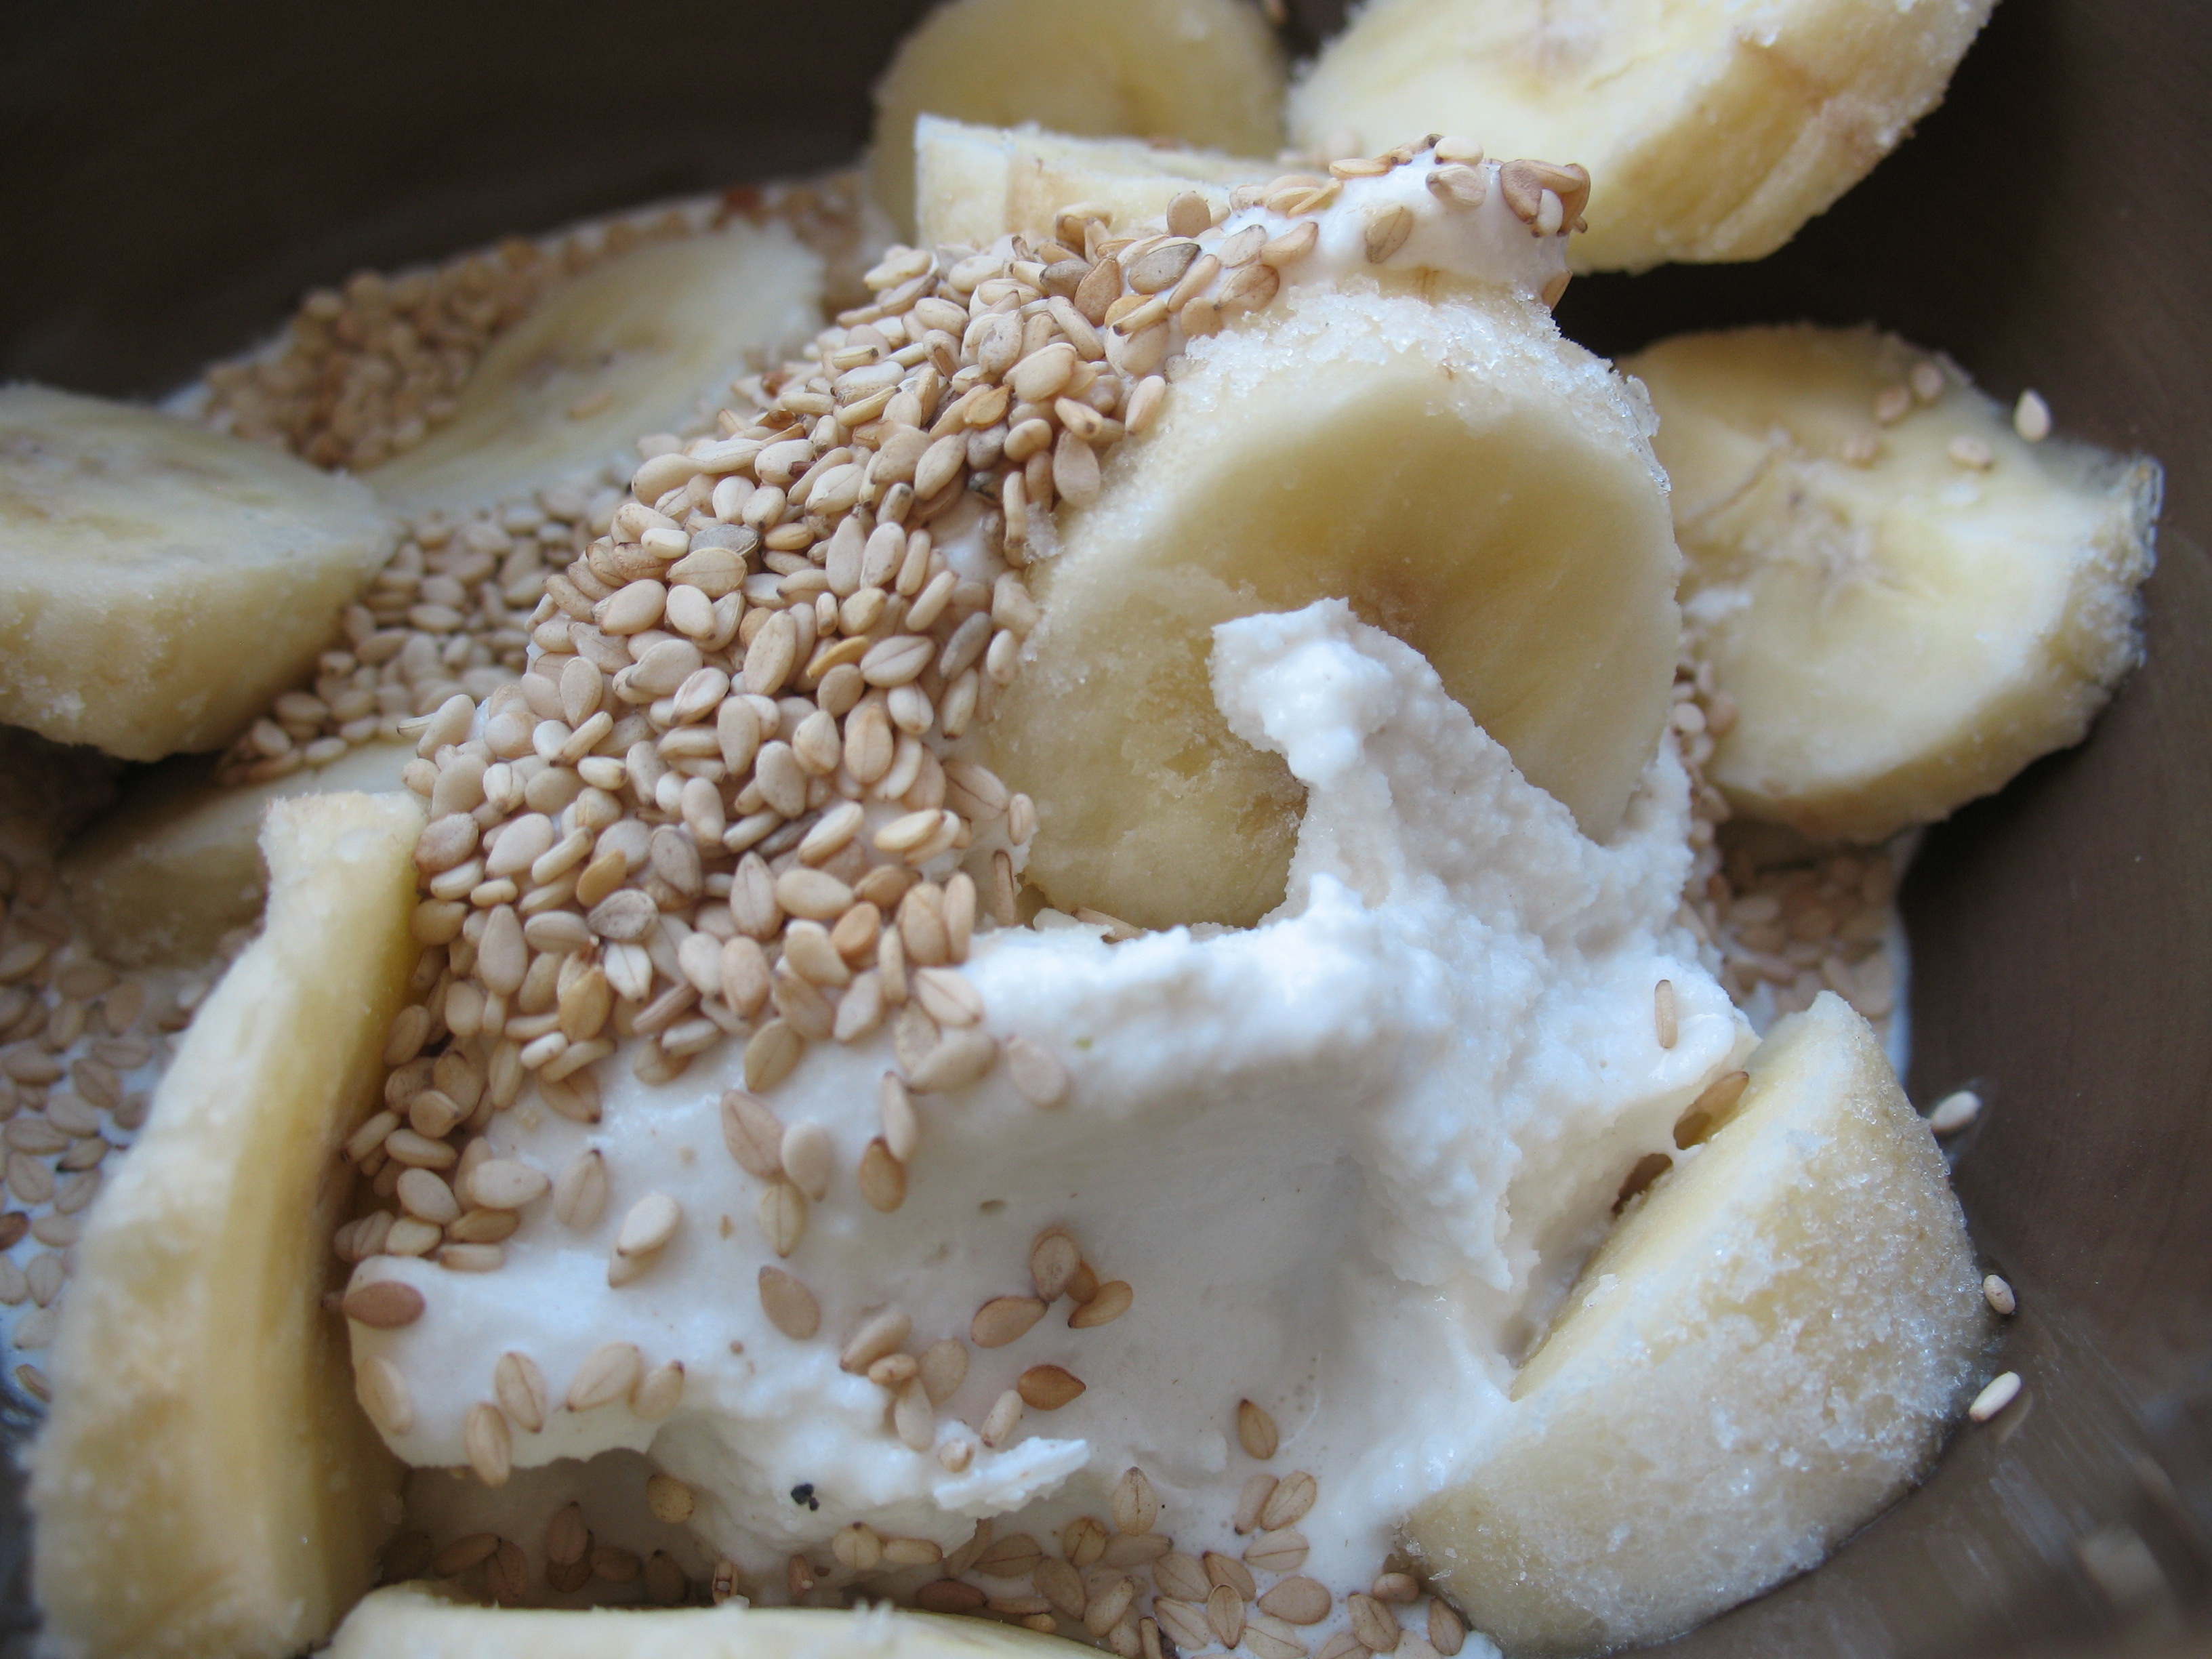
Tahini Ice-Cream
http://heathereatsalmondbutter.files.wordpress.com/2009/09/img_3241.jpg


Vegan Black Bean Burgers

black-bean-burgers

All-Grilled Labor Day Meal (Even the Drinks and Dessert Are Grilled!)

0 comments

Let the grill do all the work this Labor Day weekend! Grilling adds wonderful flavor to any food—meats, veggies, and yes, even drinks and desserts. So fire up the grill for this all-grilled menu and enjoy! 

Grilled Chicken with White Barbecue Sauce 
Photo: Beth Dreiling Hontzas

Photo: Beth Dreiling Hontzas


Ingredients
1 Tbsp. dried thyme
1 Tbsp. dried oregano
1 Tbsp. ground cumin
1 Tbsp paprika
1 tsp. onion powder
1/2 tsp. salt
1/2 tsp. pepper
10 skin-on, bone-in chicken thighs (about 3 lb.)
White Barbecue Sauce

White Barbecue Sauce
Stir together 1 1/2 cups mayonnaise, 1/4 cup white wine vinegar, 1 minced garlic clove, 1 Tbsp. coarse ground pepper, 1 Tbsp. spicy brown mustard, 1 tsp. sugar, 1 tsp. salt, and 2 tsp. horseradish until blended. Cover and chill 2 to 4 hours. Store in an airtight container up to 1 week.

Preparation
Combine first 7 ingredients until blended. Rinse chicken, and pat dry; rub seasoning mixture over chicken. Place chicken in a zip-top plastic freezer bag. Seal and chill 4 hours.

Preheat grill to 350° to 400° (medium-high) heat. Remove chicken from bag, discarding bag.

Grill chicken, covered with grill lid, 8 to 10 minutes on each side or until a meat thermometer inserted into thickest portion registers 180°. Serve with White Barbecue Sauce.

Related: Great Grilled Chicken Recipes

Grilled Lemonade


Ingredients & Preparation
Cut about 16 lemons in half. Dip cut sides in sugar, and place over hot coals.
Make a rosemary simple syrup by pouring equal party water, sugar, and honey into a disposable aluminum foil pan. Add a few fresh rosemary sprigs, and plan pan on grill. (Other herbs, such as basil and mint, would work too.) Place aluminum pan on grill with the lemons.

Grill lemons about 10 minutes or until you see a golden caramelized color on the lemons. Remove lemons when ready. Meanwhile, your simple syrup should be heating up nicely and getting lots of good flavor from the herbs. 

Let the grilled lemons cool slightly once you remove them from the grill. Place a wire-mesh strainer in a pitcher, and squeeze the juice from the lemons. (The heat softens the lemons for easy squeezing.) Add water and rosemary simple syrup to taste. Add a splash of bourbon, if desired, for a mellow finish; serve over ice.

Related: Cool Off with Refreshing Fruit-Filled Drinks

Grilled Potato Salad
Photo: Beth Dreiling Hontzas

Photo: Beth Dreiling Hontzas


Ingredients
8 bacon slices
4 medium-size red potatoes, cut into 3/4-inch cubes (about 5 cups cubed)
1 large white onion, cut into 1/2-inch-thick strips
Potato Salad Dry Rub
Potato Salad Dressing
Garnish: chopped fresh parsley

Potato Salad Dry Rub
Stir together 2 tsp. salt, 1 1/4 tsp. pepper, 1 tsp. paprika, 1 tsp. garlic powder, 1/4 tsp. dried thyme, 1/4 tsp. dried crushed rosemary, and 1/8 tsp. celery seeds. Store in an airtight container up to 1 month.

Potato Salad Dressing
Stir together 5 1/2 Tbsp. mayonnaise, 2 Tbsp. Dijon mustard, and 2 tsp. Worcestershire sauce. Store in an airtight container in refrigerator up to 2 weeks.

Preparation
Preheat grill to 350° to 400° (medium-high) heat. Cook bacon, in batches, in a large skillet over medium-high heat 8 to 10 minutes or until crisp; remove bacon, and drain on paper towels, reserving drippings in skillet. Crumble bacon.

Add potatoes, onion, and Potato Salad Dry Rub to hot drippings in skillet, tossing to coat. Remove potato mixture with a slotted spoon.

Grill potato mixture, covered with grill lid, over 350° to 400° (medium-high) heat in a grill wok or metal basket 30 minutes or until tender, stirring every 5 minutes. Transfer mixture to a large bowl. Add Potato Salad Dressing, and toss to coat. Stir in bacon. Garnish, if desired. Serve warm.

Related: 13 Tasty Potato Salad Recipes

Panzanella Salad
Photo: William Dickey

Photo: William Dickey


Ingredients
1 (12- to 16-oz.) ciabatta or Italian bread loaf
12 plum tomatoes, cut in half lengthwise
1 large red onion, cut into 8 wedges
5 Tbsp. olive oil, divided
1/2 seedless cucumber, halved and sliced
1/2 cup firmly packed chopped fresh basil
4 tsp. red wine vinegar
1 1/2 tsp. minced garlic
Salt and pepper to taste

Preparation
Preheat grill to 350° to 400° (medium-high) heat. Cut bread loaf into 8 (1-inch-thick) slices; cut slices in half, if desired.

Drizzle tomatoes and onion with 2 Tbsp. oil, tossing to coat.

Grill tomatoes and onion, covered with grill lid, over 350° to 400° (medium-high) heat 3 to 4 minutes on each side or until lightly charred.

Coarsely chop grilled tomatoes and onion, and place in a medium bowl. Add 2 Tbsp. oil, cucumber, and next 3 ingredients. Season with salt and pepper to taste.

Brush bread slices with remaining 1 Tbsp. olive oil. Grill, without grill lid, over 350° to 400° (medium-high) heat 1 to 2 minutes on each side or until lightly browned and toasted.

Place grilled bread slices on individual serving plates; top with tomato mixture.

Related: 35 Crisp Summer Salads

Grilled Cheesy Corn
Photo: Beth Dreiling Hontzas

Photo: Beth Dreiling Hontzas


Ingredients
Ears of fresh corn
Salt
Melted butter
Chili powder
Smoked paprika
Grated Cotija or Parmesan cheese
Fresh lime wedges

Preparation
Preheat grill to 350° to 400° (medium-high) heat. Pull back husks from ears of fresh corn; remove and discard silks. Tie husks together with kitchen string to form a handle. Soak in cold salted water to cover 10 minutes; drain. Grill corn, covered with grill lid, 15 minutes or until golden brown, turning occasionally. Remove from grill. Brush corn with melted butter; sprinkle with salt, chili powder, smoked paprika, and grated Cotija or Parmesan cheese. Serve with fresh lime wedges.

Related: 16 Must-Try Barbecue Sides

Cream-Filled Grilled Pound Cake
Photo: Ralph Anderson

Photo: Ralph Anderson


Ingredients
4 Tbsp. pineapple cream cheese
8 (1/2-inch-thick) slices pound cake
Sweetened whipped cream
Fresh strawberries and blueberries

Preparation
Spread pineapple cream cheese evenly over 1 side of 4 pound cake slices. Top with remaining 4 pound cake slices.

Grill, covered with grill lid, over medium-high heat (350° to 400°) 2 to 3 minutes on each side. Top with whipped cream and berries. Serve immediately.

How to Perfectly Grill Steak

0 comments

Master the grill with these easy tips and techniques, plus a chef’s secret for keeping steaks hot at the table

Master the grill with these easy tips and techniques, plus a chef's secret for keeping steaks hot at the table


A quintessential part of summer grilling, a perfectly cooked steak with that charred, slightly smoky exterior and juicy, tender meat makes any meal complete. The best part is they're easy to cook and are incredibly satisfying. Plus, they can be prepared simply with salt and pepper, topped with salsas, or marinated in achimichurri sauce or a variety of flavors. Using a good quality piece of meat is a large factor in the outcome of the dish, but even if you have the most beautiful cut of meat, you can completely destroy it by overcooking it. And then all those lovely marinades, salsas, and side dishes will have nothing to pair with.

Related: Kitchen Fantasies: High-End Grilling Equipment

Avoid this catastrophe by following these easy steps and tips: Chef Smith of Stephen Starr's Steak 954in Florida, shares his go-to technique for perfectly grilling a steak.

What should the perfect steak look like? According to Smith, it should taste like beef, have a good texture that's not too firm but not too soft either. Generally a thick cut works well with lots of marbling (marbling is the fat that's dispersed throughout the meat); this provides it with the juiciness, so look for evenly distributed fat instead of just clumps. Smith provides some basic tips on grilling from the seasoning to the feel of the meat, so you never have to fear for your steak again.

Credit: Istock/stu99

Credit: Istock/stu99

The Meat
At home, Smith veers toward skirt steak because it provides good marbling inside the meat and not just fat, plus it's usually a good price. But rib eyes are also a great option. (Photo courtesy of Istock/stu99)


Credit: Romulo Yanes

Credit: Romulo Yanes

Seasoning
For good-quality steaks that don't need to be marinated (like rib eyes), Smith recommends seasoning them heavily with salt and pepper immediately before grilling. If you do it for longer, it will draw out the moisture. How much salt? Smith says that his steaks are white when they go on the grill because most of the salt falls off anyway. However, for cuts like strip steak that benefit from some marinating time, he usually uses a chimichurri (minus the vinegar/acid for the marinade, but then adding it to the half of the sauce that he uses to top the steaks). A lot of times he mops on a sweet BBQ sauce when the steak is almost done cooking, so the sugars caramelize instead of burn (which happens if you put it on the grill for too long). Or he adds a dollop of sriracha for extra heat.

Credit: © Williams Sonoma

Credit: © Williams Sonoma

The Grill
While a wood-burning grill is best, it can be difficult to regulate the heat on them. He recommends that home cooks use a gas grill so that they can keep it at a steady medium-high heat — this will also give the steaks a good brown crust.


Credit: Flickr/Erik Charlton

Credit: Flickr/Erik Charlton

Know Your Heat
Every grill is different, so make sure that you are familiar with the intensity and heat of your grill. Test it out by holding your hands over the grates to see how hot it is and make sure to remember where the cool spots are. Smith recommends cooking over medium-high heat.


Feeling the Meat
He likes to test the firmness of the raw meat before it goes on the grill and after. What's he looking for? The meat shouldn't be firm, but it should have less bounce than before. Steaks with more bounce are on the rare side, while firmer steaks will be well done. It's up to you how you like to eat your steak, but most are better when on the medium rare side.

Moving the Meat Around
Some people claim that you should just let the steak cook on each side and not move them around until they need to be turned — Smith disagrees. He says that moving the steaks around gives them more char and essentially more flavor on the exterior crust, but that you need to make sure to strategically move them around the grill so that they don't get caught in a flareup (when the fat/grease drips through the grates), otherwise you'll get more of a burnt taste on the exterior, than the flavorful crust you're looking for. You canuse tongs to move them around, just be careful not to pierce the meat or you'll lose some of the precious juices.
[Editor's Note: For thick, fatty cuts like rib eye, make sure to grill the steak on all sides so that it cooks evenly and burns off some of the extra fat.]

Don't Walk Away
Grilling is a time to bond with your food. Grab a beer or a glass of wine and be prepared to hang out with your steak as you dance it around the grill.

Grilling Time
The cooking time depends on the cut and thickness of the steak. Chef recommends about 10 minutes per side for a rib eye that's 1 ¼-inch thick, while a skirt steak takes about 3-4 minutes per side for medium rare, depending on the thickness. However, you can always avoid cutting into the steak and the guessing game by using a meat thermometer (something we highly recommend). That way, you can cook until your desired internal temperature (between 130-135 degrees for medium rare, 140-145 degrees for medium). Check out this guide to internal meat temperatures.

Credit: Taste of Home

Credit: Taste of Home

Resting
Make sure to rest the meat for about 5-7 minutes, depending on the thickness (thicker steaks should be on the higher end of the range). It's important not to tent the meat or it will continue to cook. Just keep on a cool spot on the grill so you can quickly heat it up again before you serve it (a trick that he uses at the restaurant).


- Yasmin Fahr,
 The Daily Meal

 
My Fitness For You © 2011 | Designed by Interline Cruises, in collaboration with Interline Discounts, Travel Tips and Movie Tickets